> ## Documentation Index
> Fetch the complete documentation index at: https://blog.pig4cloud.com/llms.txt
> Use this file to discover all available pages before exploring further.
# 告别API接口:用MCP协议让AI直接"对话"你的Spring应用
> 通过 SpringBoot MCP 服务,让强大的 AI 模型(如 Claude 或 Cursor)安全地与应用程序和数据进行交互。
曾经想过如何让强大的 AI 模型(如 Claude 或 Cursor)安全地与应用程序直接对话吗?SpringBoot MCP 服务就是答案。它充当一座桥梁,允许将应用程序的功能作为一套 AI 可以调用的工具暴露出来,这一切都通过模型上下文协议(MCP)的魔力实现。
在本指南中,我们将构建一个轻量级的 Spring Boot 应用程序,允许 AI 直接调用应用程序的业务逻辑来查询CRM系统中的用户信息。让我们一起释放 AI 驱动应用程序的潜力吧!
## 什么是 SpringBoot MCP 服务?
SpringBoot MCP 服务是一个专门的 Spring Boot 应用程序,它利用了 Spring AI MCP 框架。它旨在将数据和服务作为标准化工具暴露给 AI 模型。与传统的 Web API 不同,它通过 STDIO(标准输入/输出)进行通信,使其成为本地 AI 客户端与代码交互的安全高效方式。
对于我们的项目,我们将创建一个具有两个主要功能的服务器:
* **获取所有用户**:获取完整的CRM用户列表。
* **按姓名搜索用户**:按姓名查找特定用户。
这是构建自定义 MCP 服务并将您独特的数据源与下一代 AI 集成的完美起点。
### 步骤 1:创建的 Spring Boot 项目
访问 [start.spring.io](https://start.spring.io/) 以使用以下设置引导项目:
* `Spring AI MCP Server` - 用于 STDIO 传输
```xml theme={null}
org.springframework.ai
spring-ai-starter-mcp-server
```
* `Spring AI MCP Server WebMVC` - 用于 SSE 传输(Spring MVC)
点击 **Generate**,下载 zip 文件,并在 IntelliJ IDEA 中打开它。
## 第二部分:构建您的 MCP 服务
现在是有趣的部分——让我们来构建服务器本身。
### 步骤 2:了解项目结构
项目将有几个关键文件:
* `Customer.java`:我们客户记录的数据模型。
* `CustomerService.java`:我们将定义 AI 工具的服务类。
* `TestMcpServerApplication.java`:主应用程序入口点。
* `application.properties`:用于服务器配置。
首先,配置 `application.properties` 以作为使用 STDIO 传输的非 Web 应用程序运行:
```yaml theme={null}
spring:
application:
name: crm-mcp-server
ai:
mcp:
server:
name: ${spring.application.name}
version: 1.0.0
```
### 步骤 3:定义数据模型
创建一个简单的 `Customer.java` 记录。这个不可变类非常适合保存客户数据。
```java theme={null}
package com.example.testmcpserver;
public record Customer(String id, String name, String email, String phone, String company) {}
```
### 步骤 4:实现 MCP 工具
在 `CustomerService.java` 中,我们将定义 AI 可以调用的方法。`@Tool` 注解将这些方法暴露给 MCP 框架。
```java theme={null}
@Service
public class CustomerService {
private static final Logger log = LoggerFactory.getLogger(CustomerService.class);
private List customers = new ArrayList<>();
@Tool(name = "get_customers", description = "Get a list of customers from the CRM system")
public List getCustomers() {
return customers;
}
@Tool(name = "get_customer_by_name", description = "Get a single customer from the CRM system by name")
public Customer getCustomerByName(String name) {
return customers.stream()
.filter(customer -> customer.name().equals(name))
.findFirst()
.orElse(null);
}
@PostConstruct
public void init() {
customers.addAll(List.of(
new Customer("1", "张三", "zhangsan@example.com", "13800138001", "阿里巴巴"),
new Customer("2", "李四", "lisi@example.com", "13800138002", "腾讯科技"),
new Customer("3", "王五", "wangwu@example.com", "13800138003", "字节跳动"),
new Customer("4", "赵六", "zhaoliu@example.com", "13800138004", "华为技术"),
new Customer("5", "钱七", "qianqi@example.com", "13800138005", "百度在线")
));
}
}
```
### 步骤 5:注册工具
最后,在 `TestMcpServerApplication.java` 中将 `CustomerService` 注册到 MCP 框架。
```java theme={null}
@SpringBootApplication
public class TestMcpServerApplication {
public static void main(String[] args) {
SpringApplication.run(TestMcpServerApplication.class, args);
}
@Bean
public List crmTools(CustomerService customerService) {
return List.of(ToolCallbacks.from(customerService));
}
}
```
`ToolCallbacks.from()` 方法会自动查找并注册服务中所有带有 `@Tool` 注解的方法。
## 第三部分:启动MCP客户端并连接CRM AI
服务器构建完成后,是时候运行它并连接 AI了。
服务器现在正在运行并通过 STDIO 监听命令。
### 方式一:使用 Cursor IDE 来链接 CRM AI
首先,构建可执行的 JAR:
```bash theme={null}
mvn clean package
```
在 `target/` 目录中找到 JAR 文件。
#### 配置 Cursor

1. 在 Cursor 中打开命令面板(`Cmd/Ctrl + Shift + P`)。
2. 搜索并选择 **"MCP: Configure Server"**。
3. 添加新的 MCP 服务器配置:
```json theme={null}
{
"name": "crm-demo-mcp",
"command": "java",
"args": [
"-jar",
"path/to/crm-mcp-server-0.0.1-SNAPSHOT.jar"
]
}
```
#### 测试 CRM AI
打开 Cursor 或 Claude Desktop 并发出命令:
> 使用 MCP 服务器,获取所有CRM客户信息。
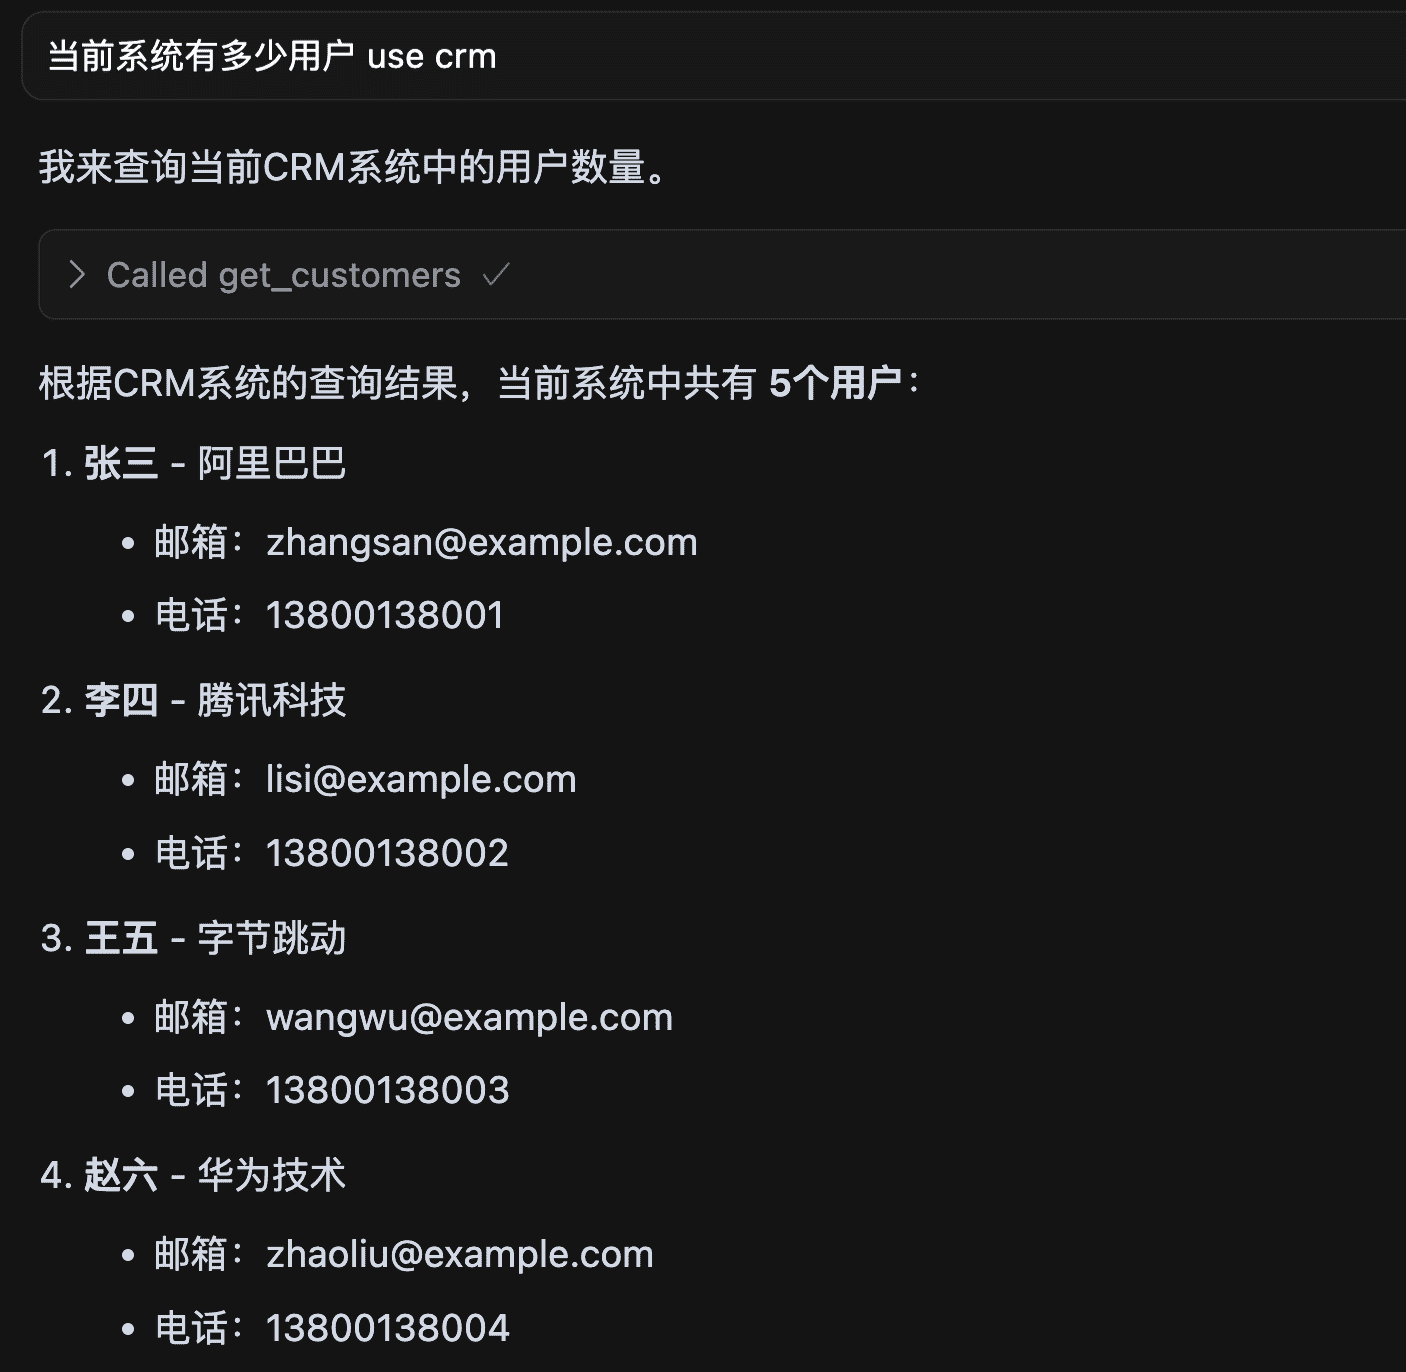
现在,尝试一个更具体的查询:
> 使用 MCP 服务器,查找姓名为"张三"的客户信息。
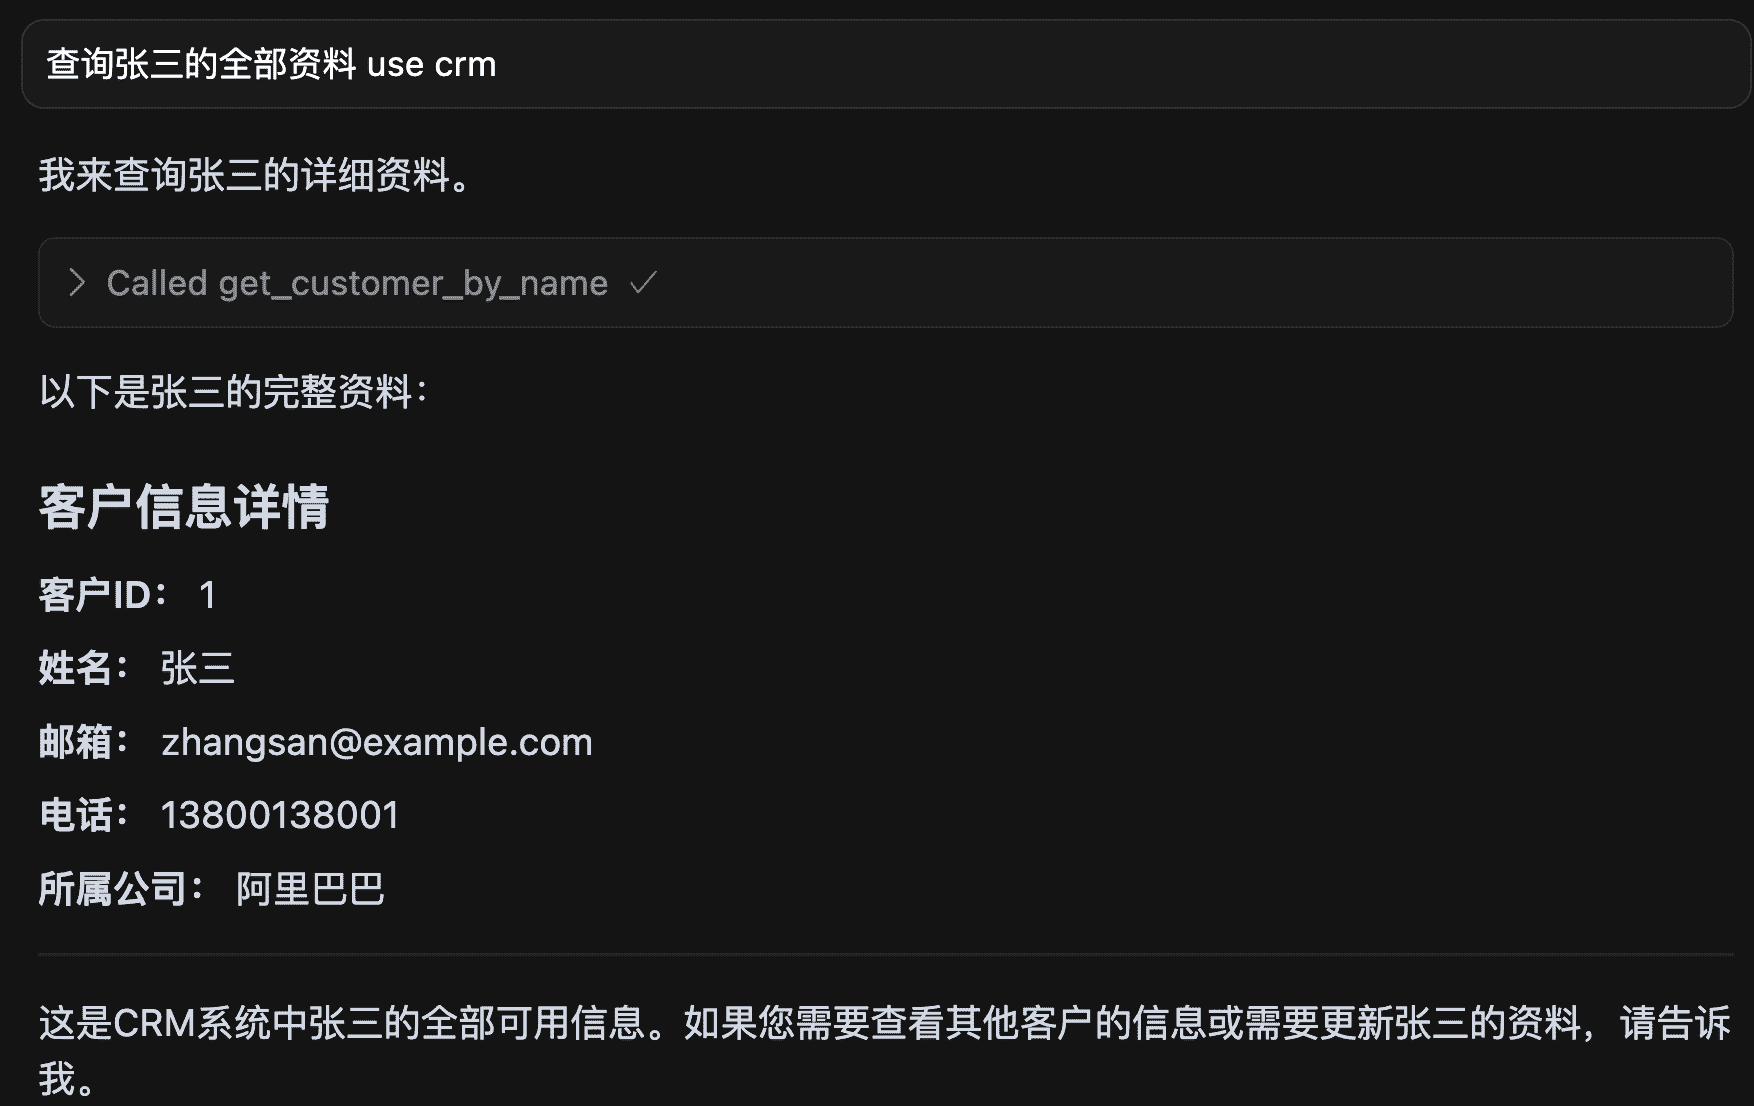
成功!AI 现在正在直接与 Spring Boot 应用程序通信。
## 方式二:使用 SSE 来链接 CRM AI
除了传统的 STDIO 传输方式,Spring AI MCP 还提供了基于 HTTP 的 SSE(Server-Sent Events)传输支持。这种方式让您可以构建更加灵活的 Web 可访问 MCP 服务器,为用户带来更便捷的部署和使用体验。
使用 SSE 传输的最大优势在于客户端用户无需在本地安装和配置 MCP 服务器(如上文提到的 crm-mcp-server jar 文件),而是可以直接通过网络连接到远程的 MCP 服务。
### WebMVC SSE 配置
对于 Spring Web MVC 应用,使用以下依赖:
```xml theme={null}
org.springframework.ai
spring-ai-starter-mcp-server-webmvc
```
然后运行当前 SpringBoot ,会自动发布一个 /sse 的 MCP端点。
### Cursor 客户端配置
```json theme={null}
{
"mcpServers": {
"crm-demo-mcp": {
"url": "http://localhost:8080/sse"
},
}
}
```
## 结论
现在已成功构建了一个 SpringBoot MCP 服务,允许 AI 安全高效地访问应用程序数据。这种强大的范例为创建更智能、更集成的 AI 驱动应用程序开辟了一个充满可能性的世界。通过利用 Spring Boot 的简单性和 Spring AI 的强大功能,可以构建复杂的AI工具。